Pin projects as tabs
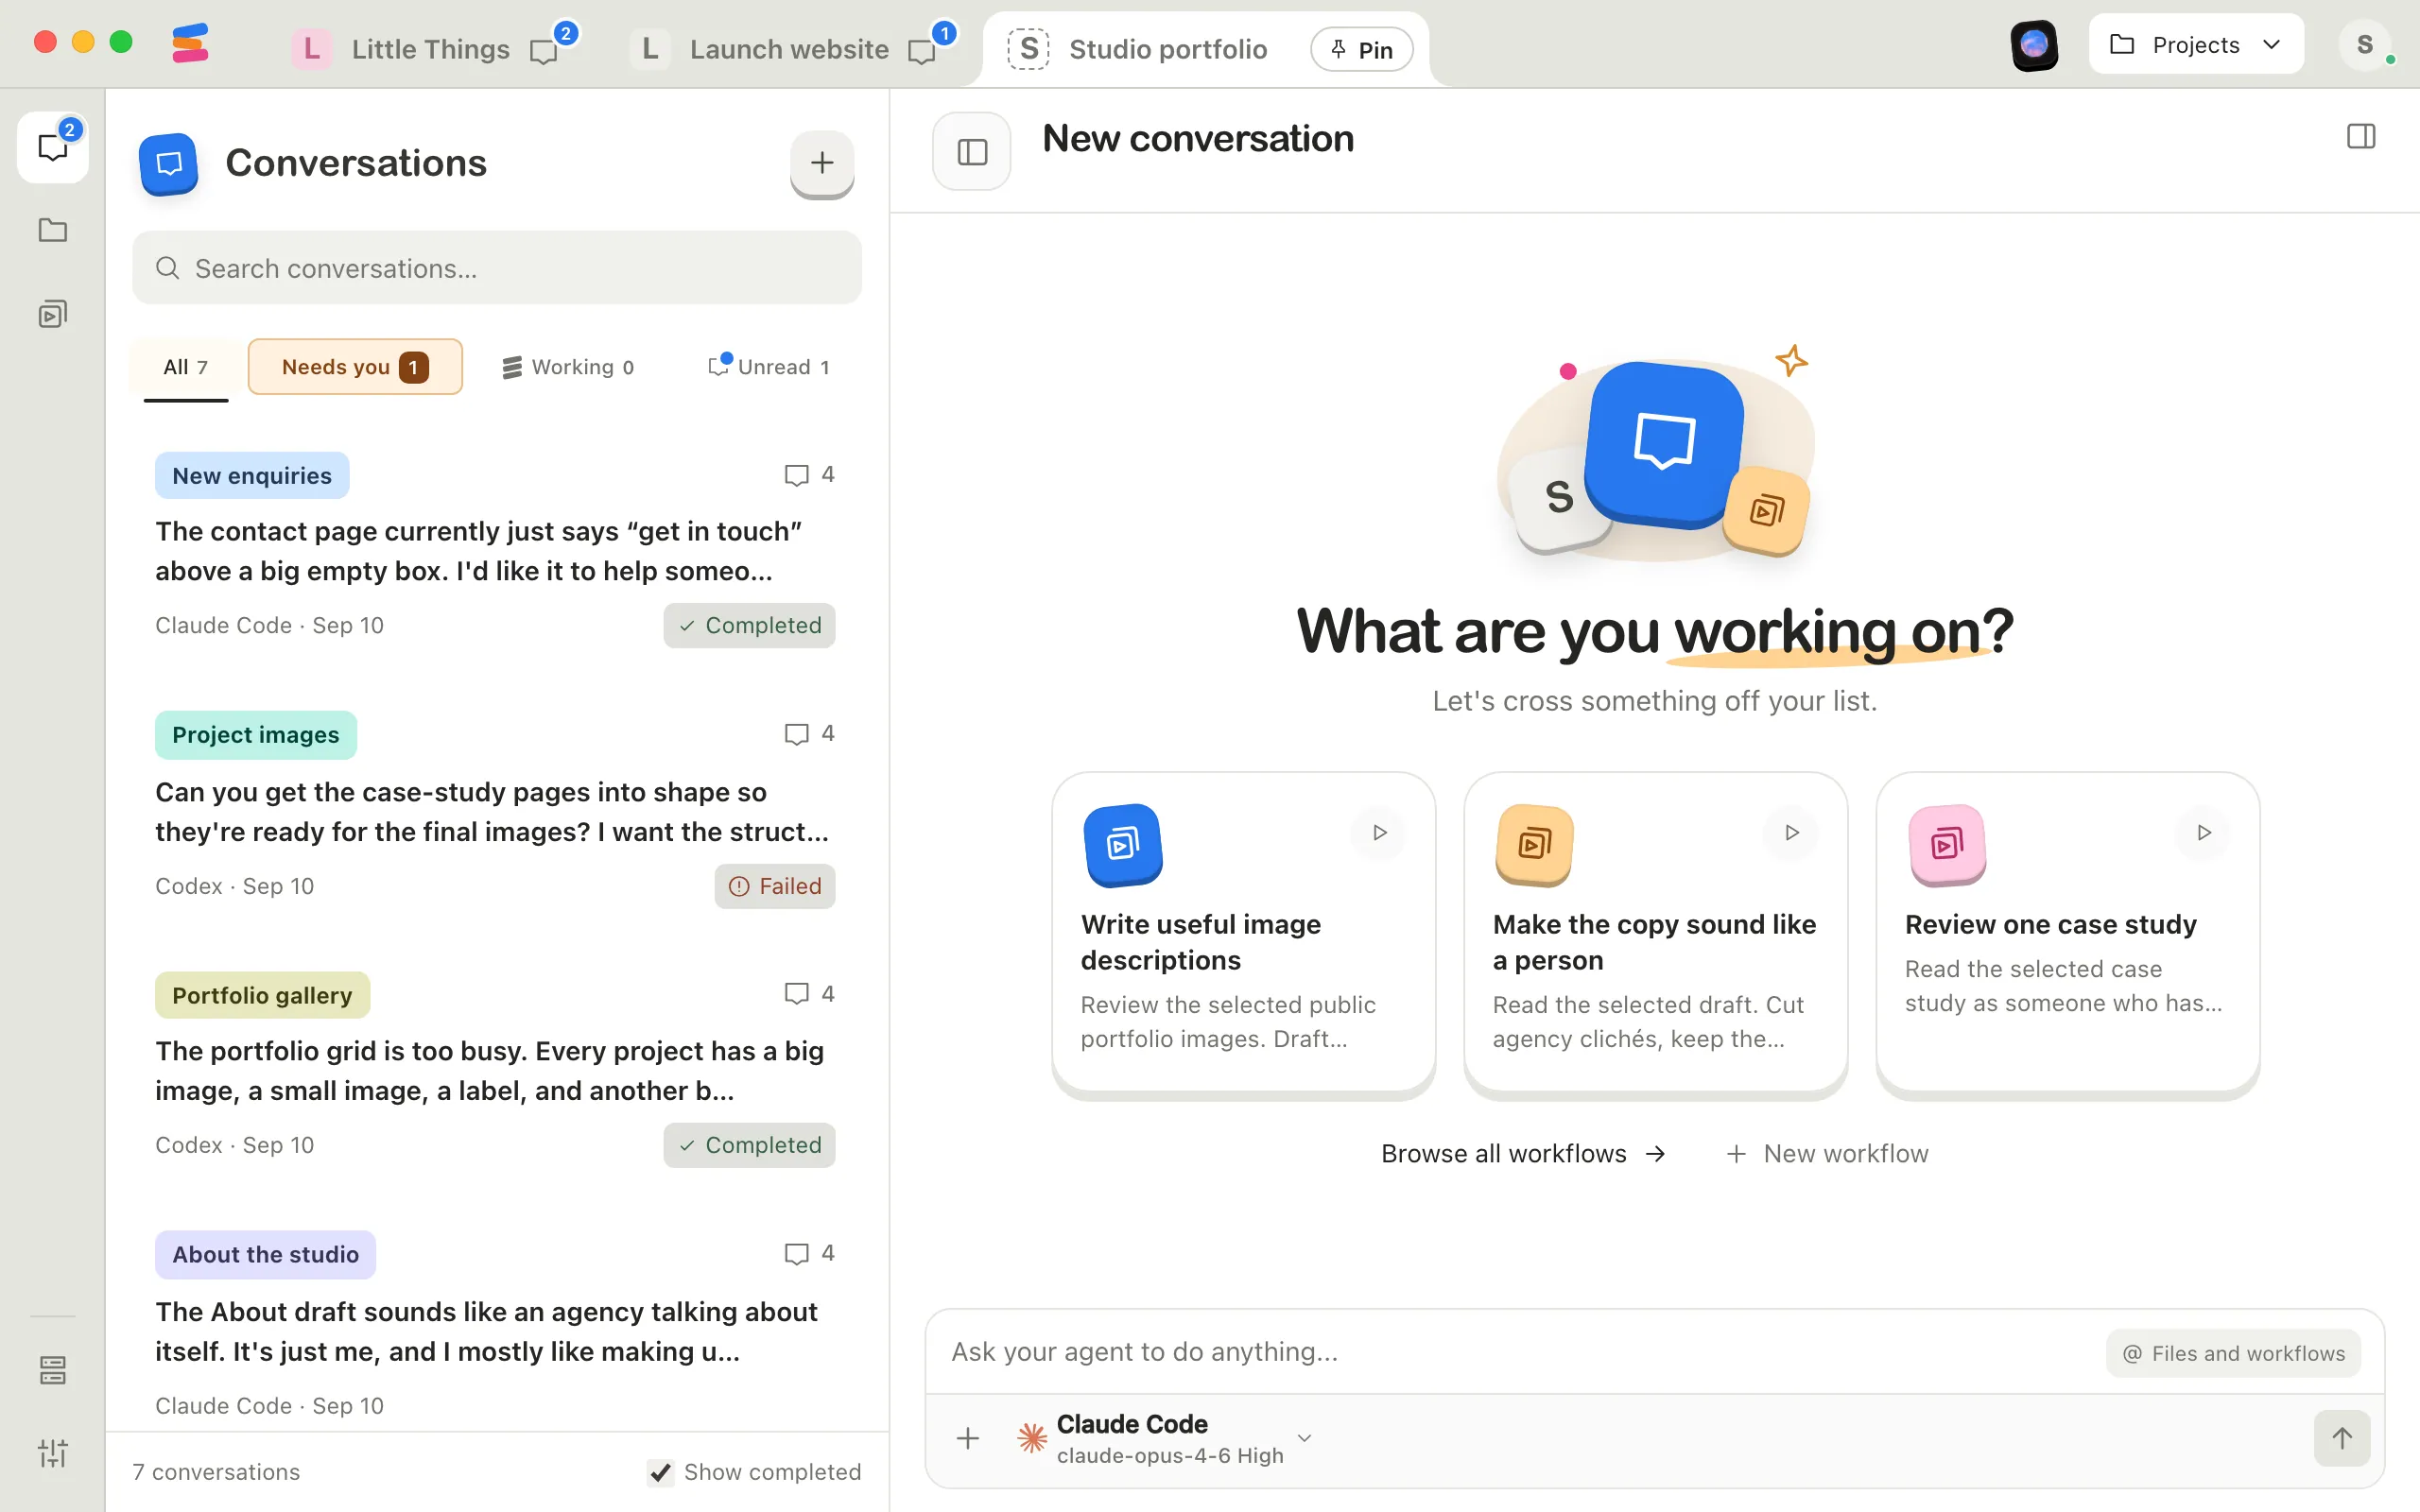
Pinned projects keep their tabs at the top of the window, in the order you pinned them until you drag them around. Projects you start or open in Enjoy are pinned automatically, so you only need this to pin a project again or tidy up your tabs.
Steps
Good to know
- To unpin the project you’re in, select the pin button on its tab. Its tab disappears when you switch to another project.
- You can also pin or unpin any project from the Projects menu with the switch at the end of its row. Its tooltip says Pin to tabs or Unpin from tabs.
- New pins go at the end of the row of tabs. To move a tab, drag it left or right; the other tabs slide aside to make room. Press Esc while dragging to put it back.
- To pin the project you’re in at a particular spot, drag its tab in among your pinned tabs and let go.
- To unpin a tab, drag it down off the row of tabs until it shows Unpin, then let go. Move it back up to keep it.
- ⌘1 through ⌘9 on a Mac, or Ctrl+1 through Ctrl+9 on Windows and Linux, open the first nine tabs in order. See Switch between projects.
- You can pin up to 100 projects.
- In the computer app, pins are saved on that computer. The web app keeps its own pins in your browser, separately for each computer you connect to.
- In the iPhone app, pinned projects come first in your projects. Touch and hold a project and choose Pin to top or Unpin. These are the same pins as on your computer, so changing them on your iPhone changes your tabs too.
- On a computer someone shared with you, all the projects they shared start as tabs. Unpin the ones you don’t need.
If something goes wrong
“Unpin a project before adding another.”
You’ve pinned 100 projects, the most Enjoy allows. In the computer app, the message starts with Could not save project pin:. Unpin a project you don’t use, then try again.