Attach files and images
Attachments help the agent see what you see, such as a screenshot of a bug or a document with requirements. Each attachment appears above the message box with a number, and a matching marker such as [1] goes into your message right where your cursor was, so you can refer to it in your sentence.
Steps
Place the cursor
Select the spot in the message box where the attachment’s marker, such as [1], should go.
Add the files
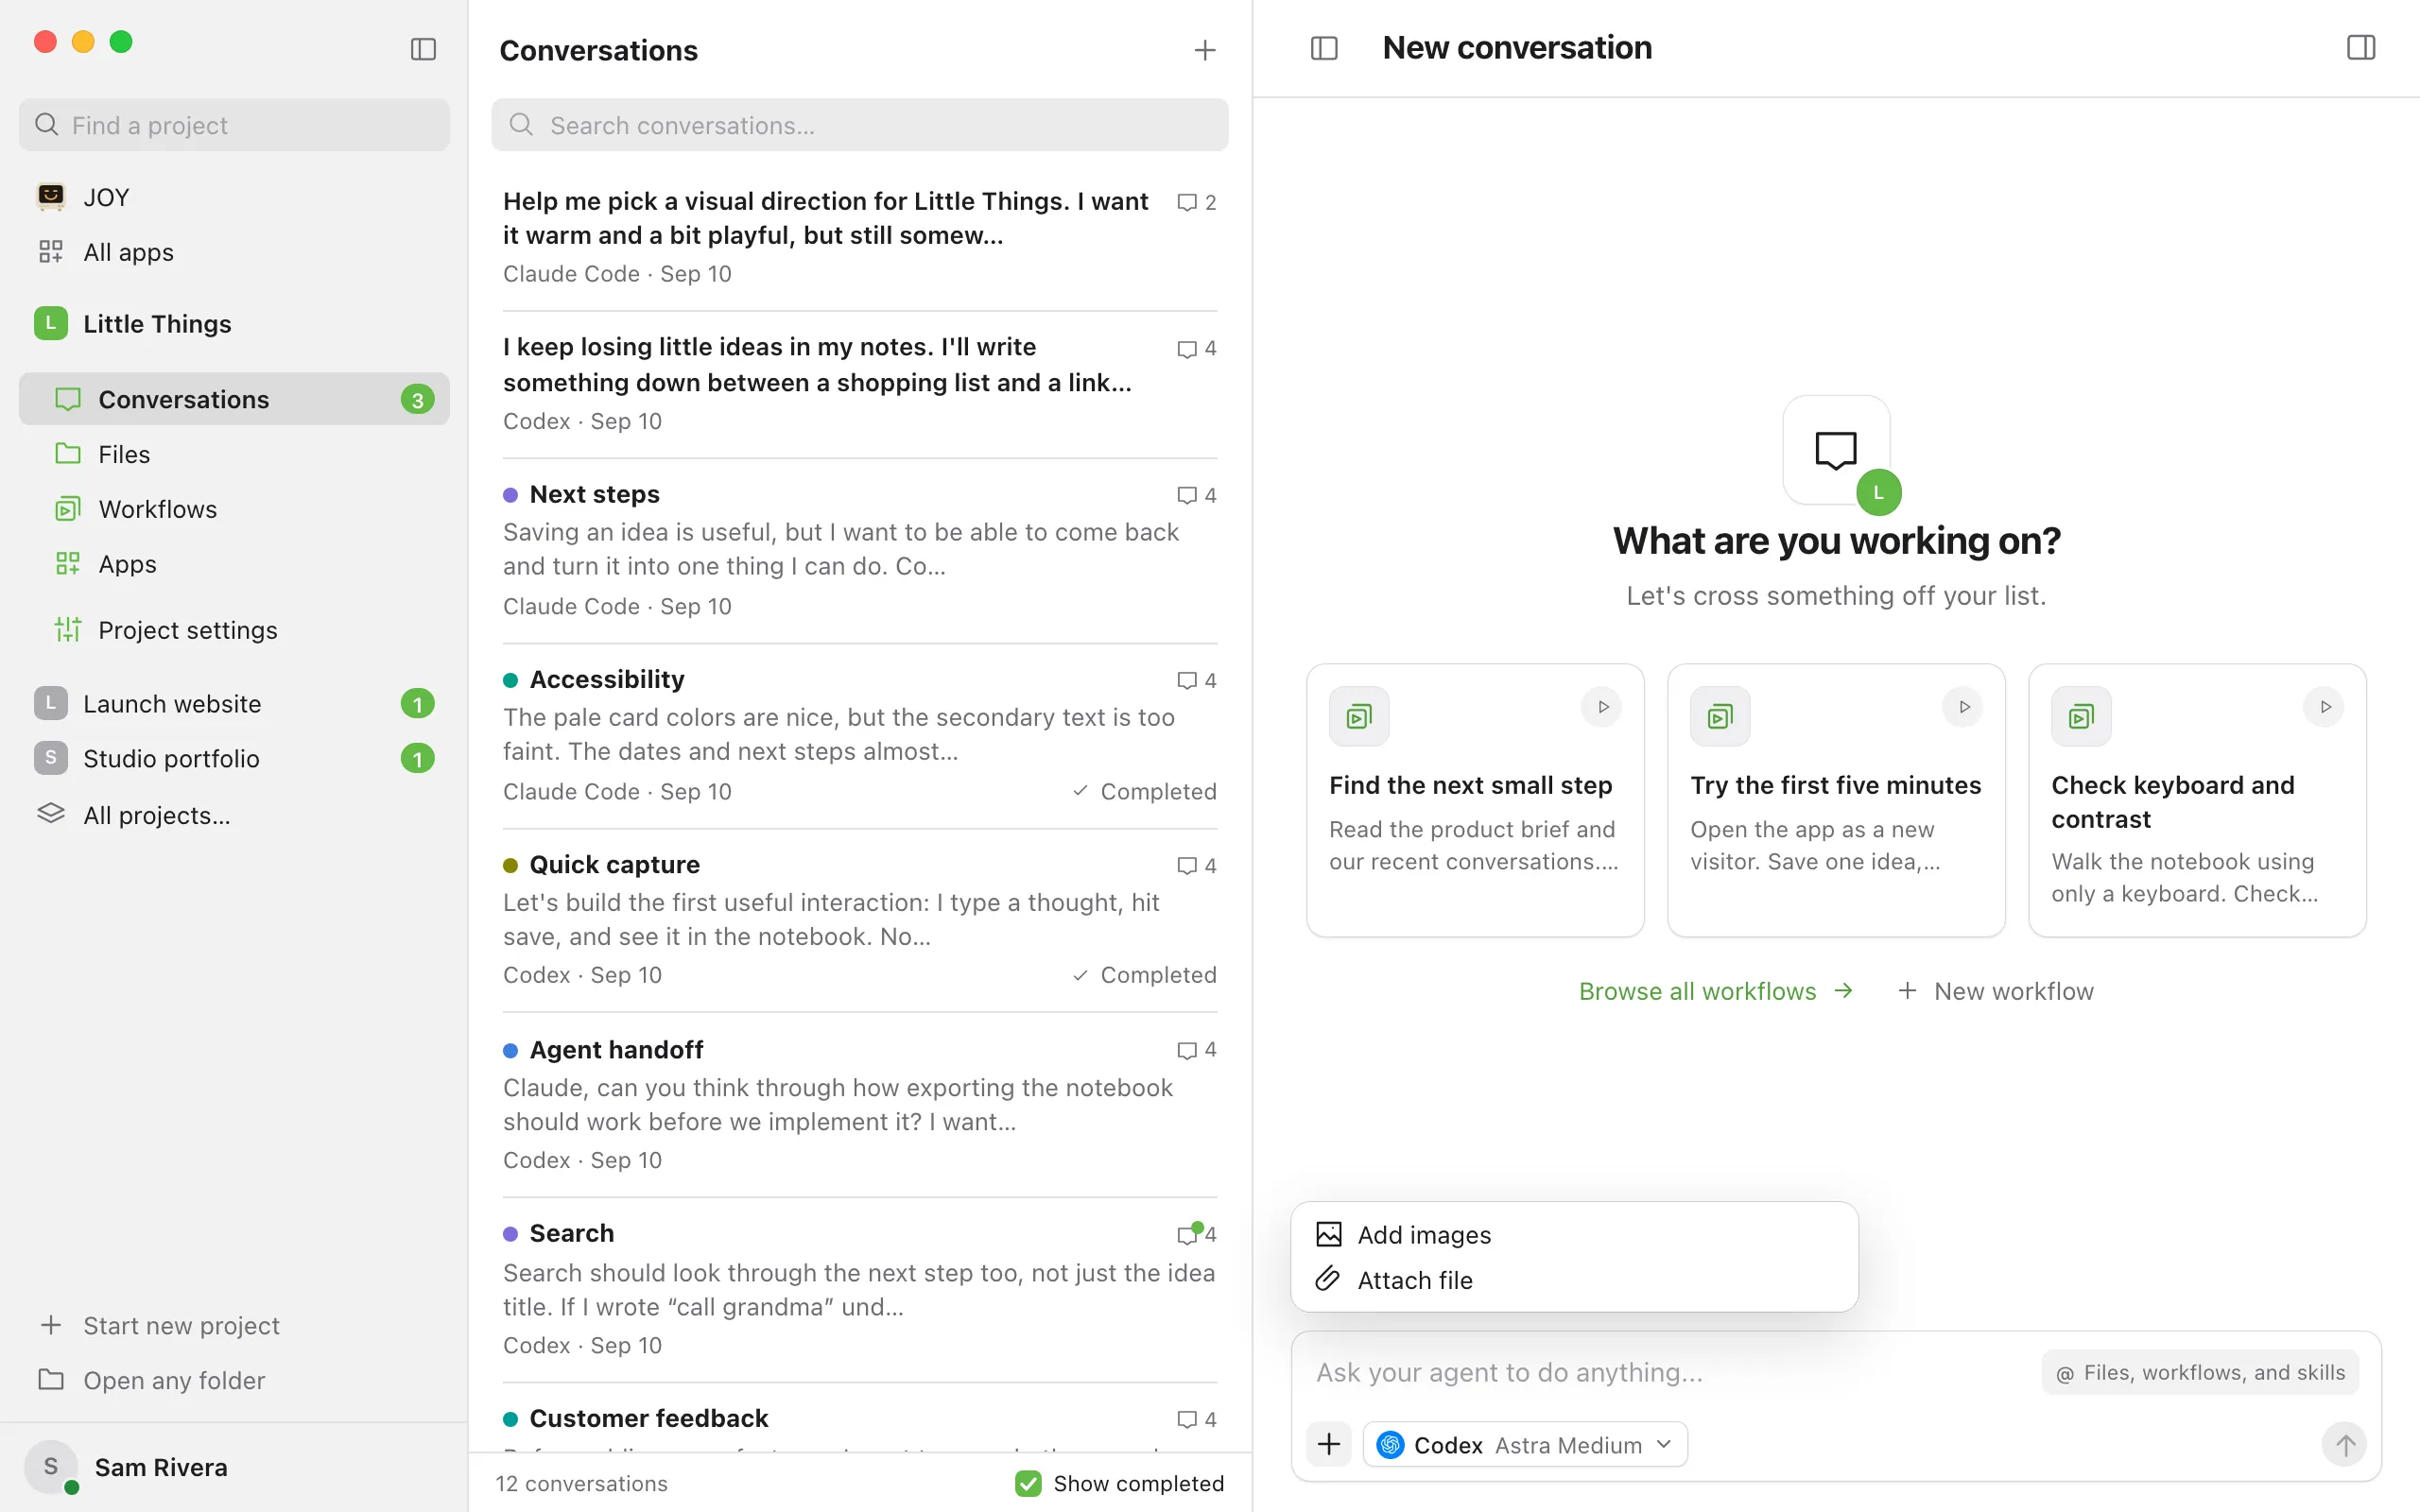
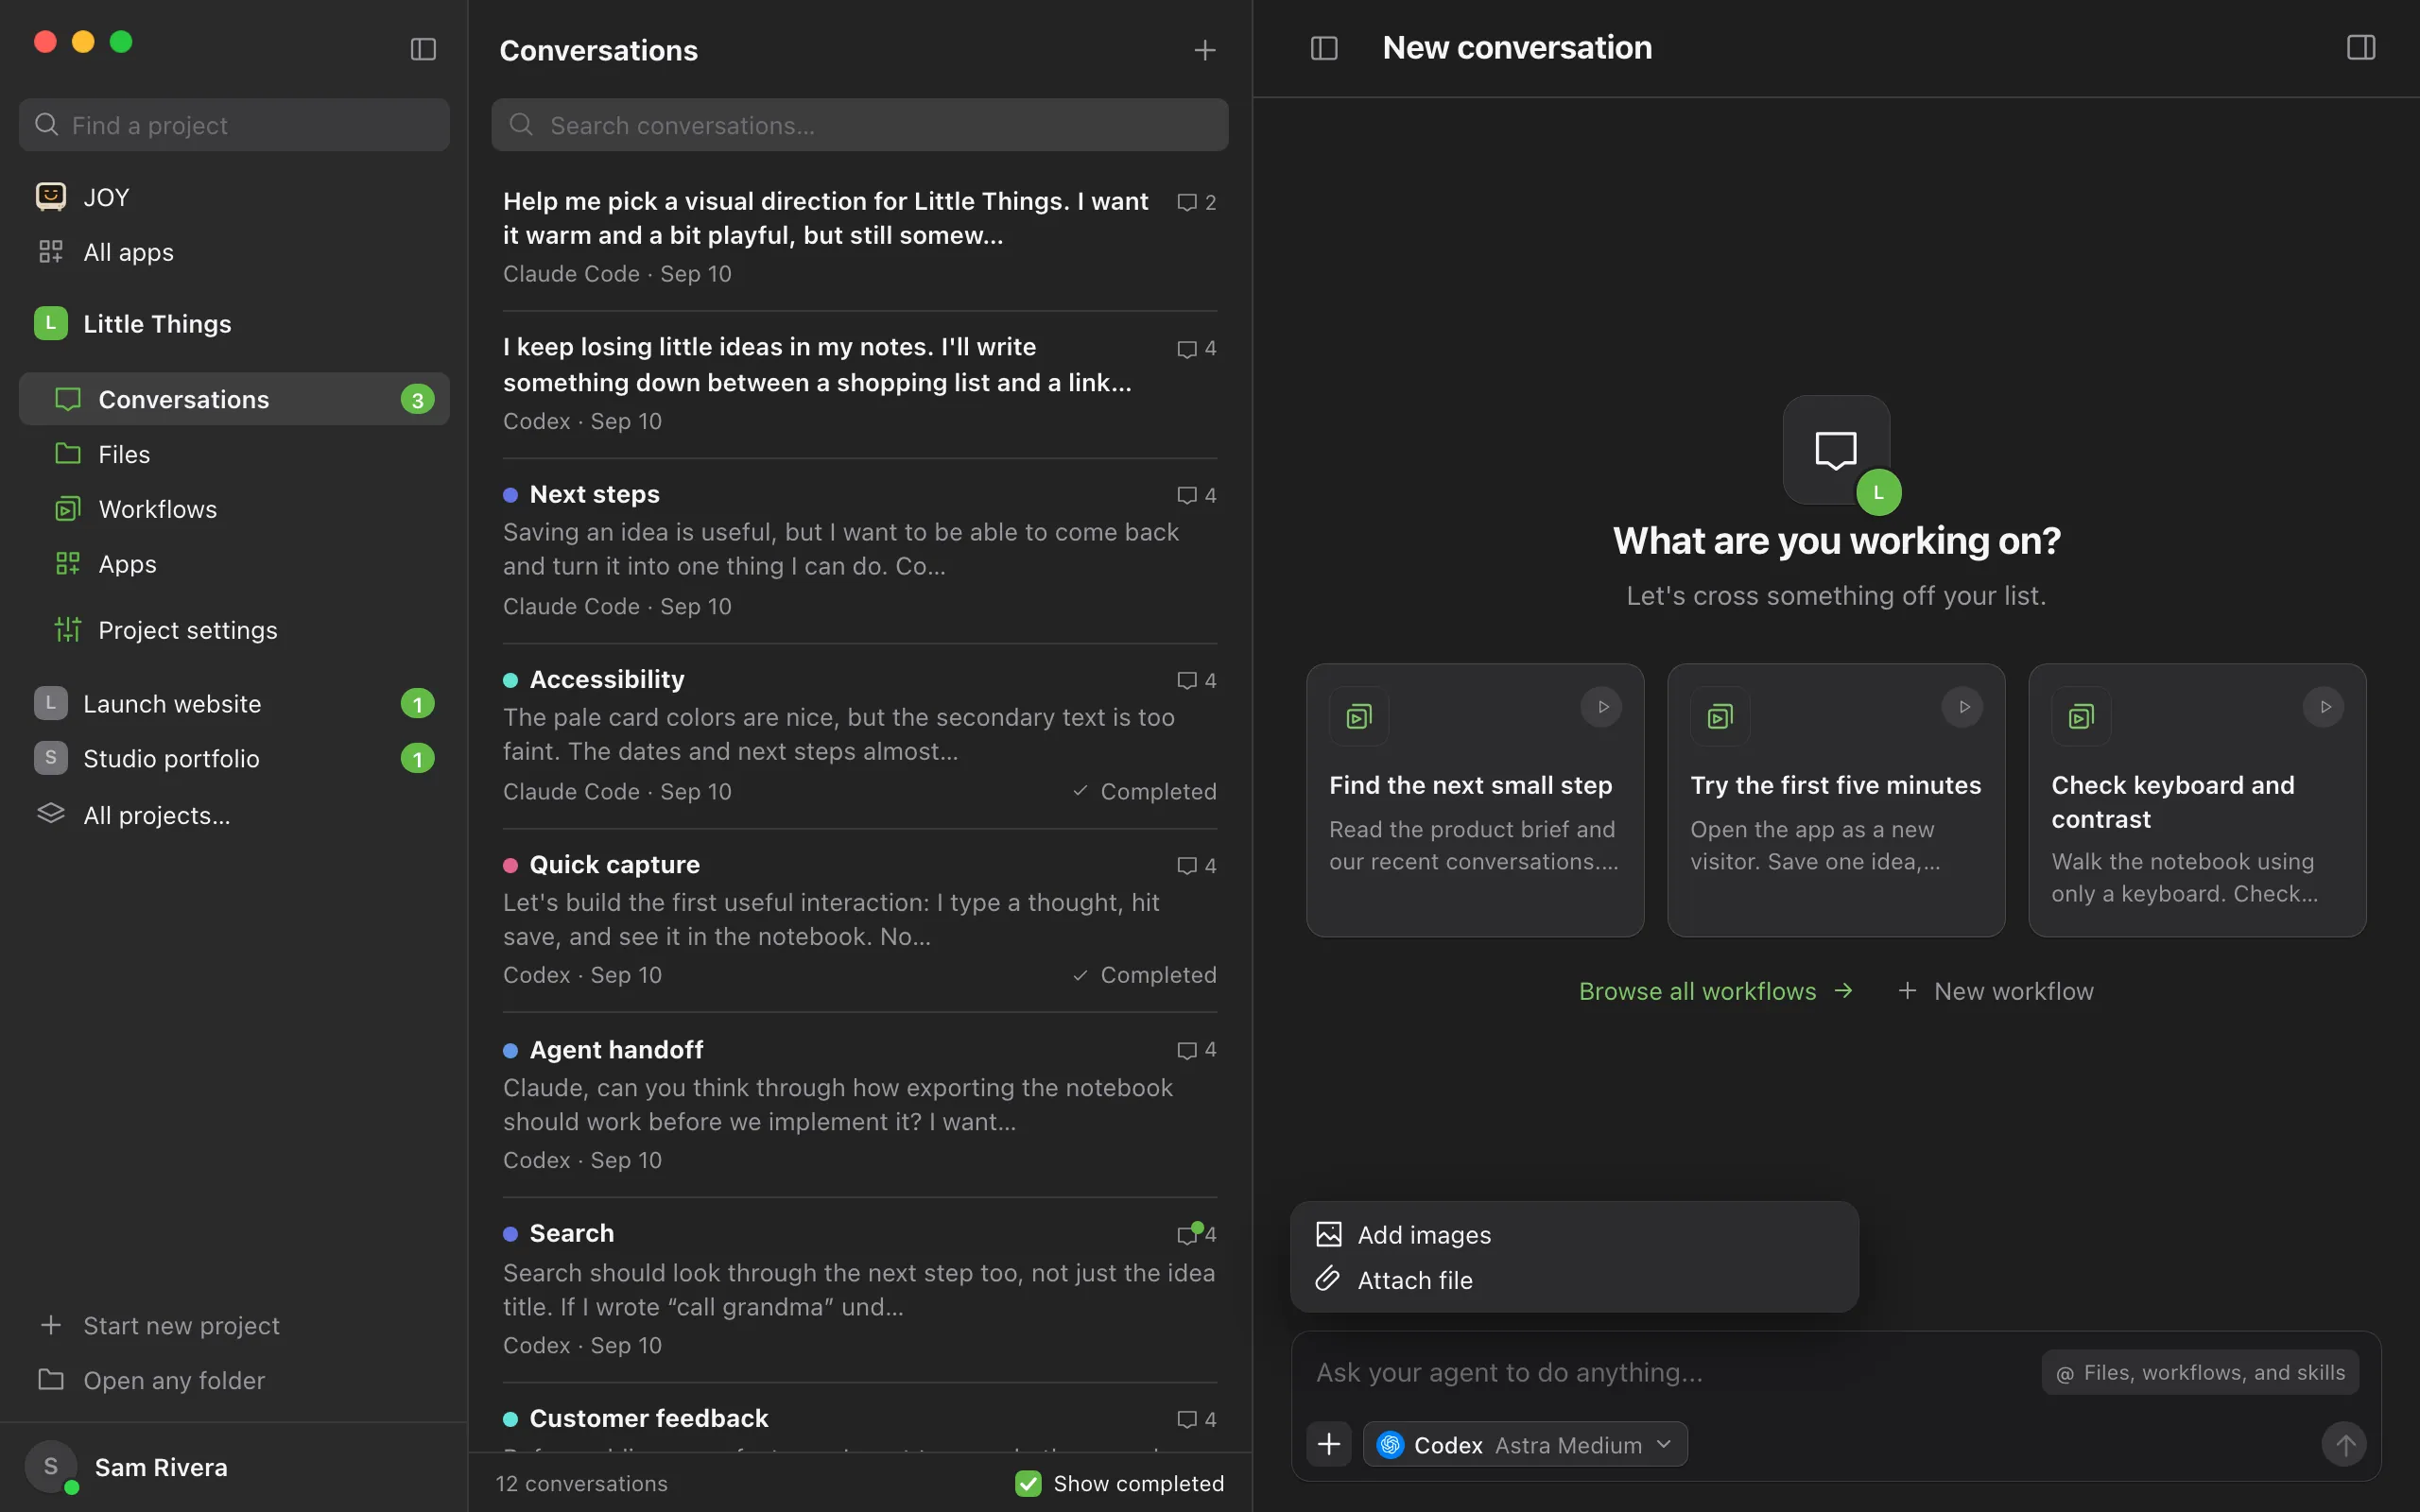
Drag files from your computer onto the conversation, or paste an image you copied, such as a screenshot. You can also select the + button (Message options) and choose Add images, or Attach file in the computer app. You can pick several files at once.
Check what you added
Each file appears above the message box, numbered to match its marker. To remove one, select the X on it. Its marker is removed from your message too.
![The message box with text containing [1] and [2], below numbered previews of an image and a PDF. Highlighted: The X on a preview.](/help/shots/conversations/attach-files-and-images/3-light.webp)
![The message box with text containing [1] and [2], below numbered previews of an image and a PDF. Highlighted: The X on a preview.](/help/shots/conversations/attach-files-and-images/3-dark.webp)
Send the message
Finish writing and send as usual. The agent receives your images, and the location of each other file so it can open it.
Good to know
- Images can be PNG, JPEG, WebP, or GIF files, up to 20 MB each. A message can include up to 8 images.
- If a message’s images are too large to send together, the agent gets as many as fit directly and opens the rest from their saved copies.
- Other files can be any type up to 20 MB each, such as PDFs, spreadsheets, or JSON files. Images in other formats, such as SVG, are attached as files, and so is everything you add with Attach file, images included. Attaching files other than images works only in the computer app on the computer that runs the project.
- In the web app (app.enjoy.dev), each image can be up to 2 MB. Attach larger images from the computer app.
- When you send, each marker becomes the attachment’s name, such as [screenshot.png], so the agent knows which file you mean. If you delete a marker, the attachment stays and goes at the end of your message.
- In the computer app, dropping a folder adds its full path as text where your cursor is, instead of attaching it. Files you drop along with the folder still attach.
- Enjoy saves a copy of each attachment in the project’s storage, not in your project folder. See Choose where a project’s conversations are stored.
- In a project inside WSL, agents in the Linux distribution open your attachments through its view of the Windows drive Enjoy keeps them on, such as
/mnt/c. If the distribution doesn’t show that drive, its card at the top of the conversation list says agents there can’t open attachments. See Fix problems with a project in WSL. - While files are being added, the + button shows a spinner and you can’t send yet.
- In the computer app, unsent attachments stay in your draft, even if you quit Enjoy. See How Enjoy keeps your unsent messages.
- In a sent message, hover over a chip to preview it. Selecting an image opens it in your default app on the computer, or downloads it in the web app. In the computer app, select Show in folder in the preview to find the saved copy in Finder or File Explorer.
- In the iPhone app, select the + button (Add image), then Take photo or Photo library. You can add up to 8 photos, and they’re resized to fit the 2 MB limit. Other files can’t be attached from the iPhone.
If something goes wrong
“Attach up to 8 images.”
A message can hold up to 8 images, and this one already has them or would have more. Send it, then add the rest to a follow-up.
“Choose a file smaller than 20 MB.”
The file is too large. For images, the message says “Choose an image smaller than 20 MB.” Make the file smaller, for example by exporting a lower-quality version, or put it in your project folder and mention it with @ instead. See Mention docs, conversations, files, and workflows.
“Use Add images, or attach other files from your desktop.”
The web app can only attach images. Attach other files from the computer app on the computer that runs the project.
“Images over 2 MB must be attached from your desktop to preserve the original.”
The web app limits images to 2 MB. Attach the image from the computer app, or make it smaller first.