Choose an effort level
Higher effort gives the agent more time to reason, which helps with tricky bugs and big changes. It also takes longer and uses more of your plan. Claude Code’s documentation puts it this way: “Lower effort is faster and cheaper for straightforward tasks, while higher effort provides deeper reasoning for complex problems.”
Steps
Select the message box
While it’s selected, the effort levels slide out beside the agent button.
Select a level
The highlighted level is the one your next message uses.
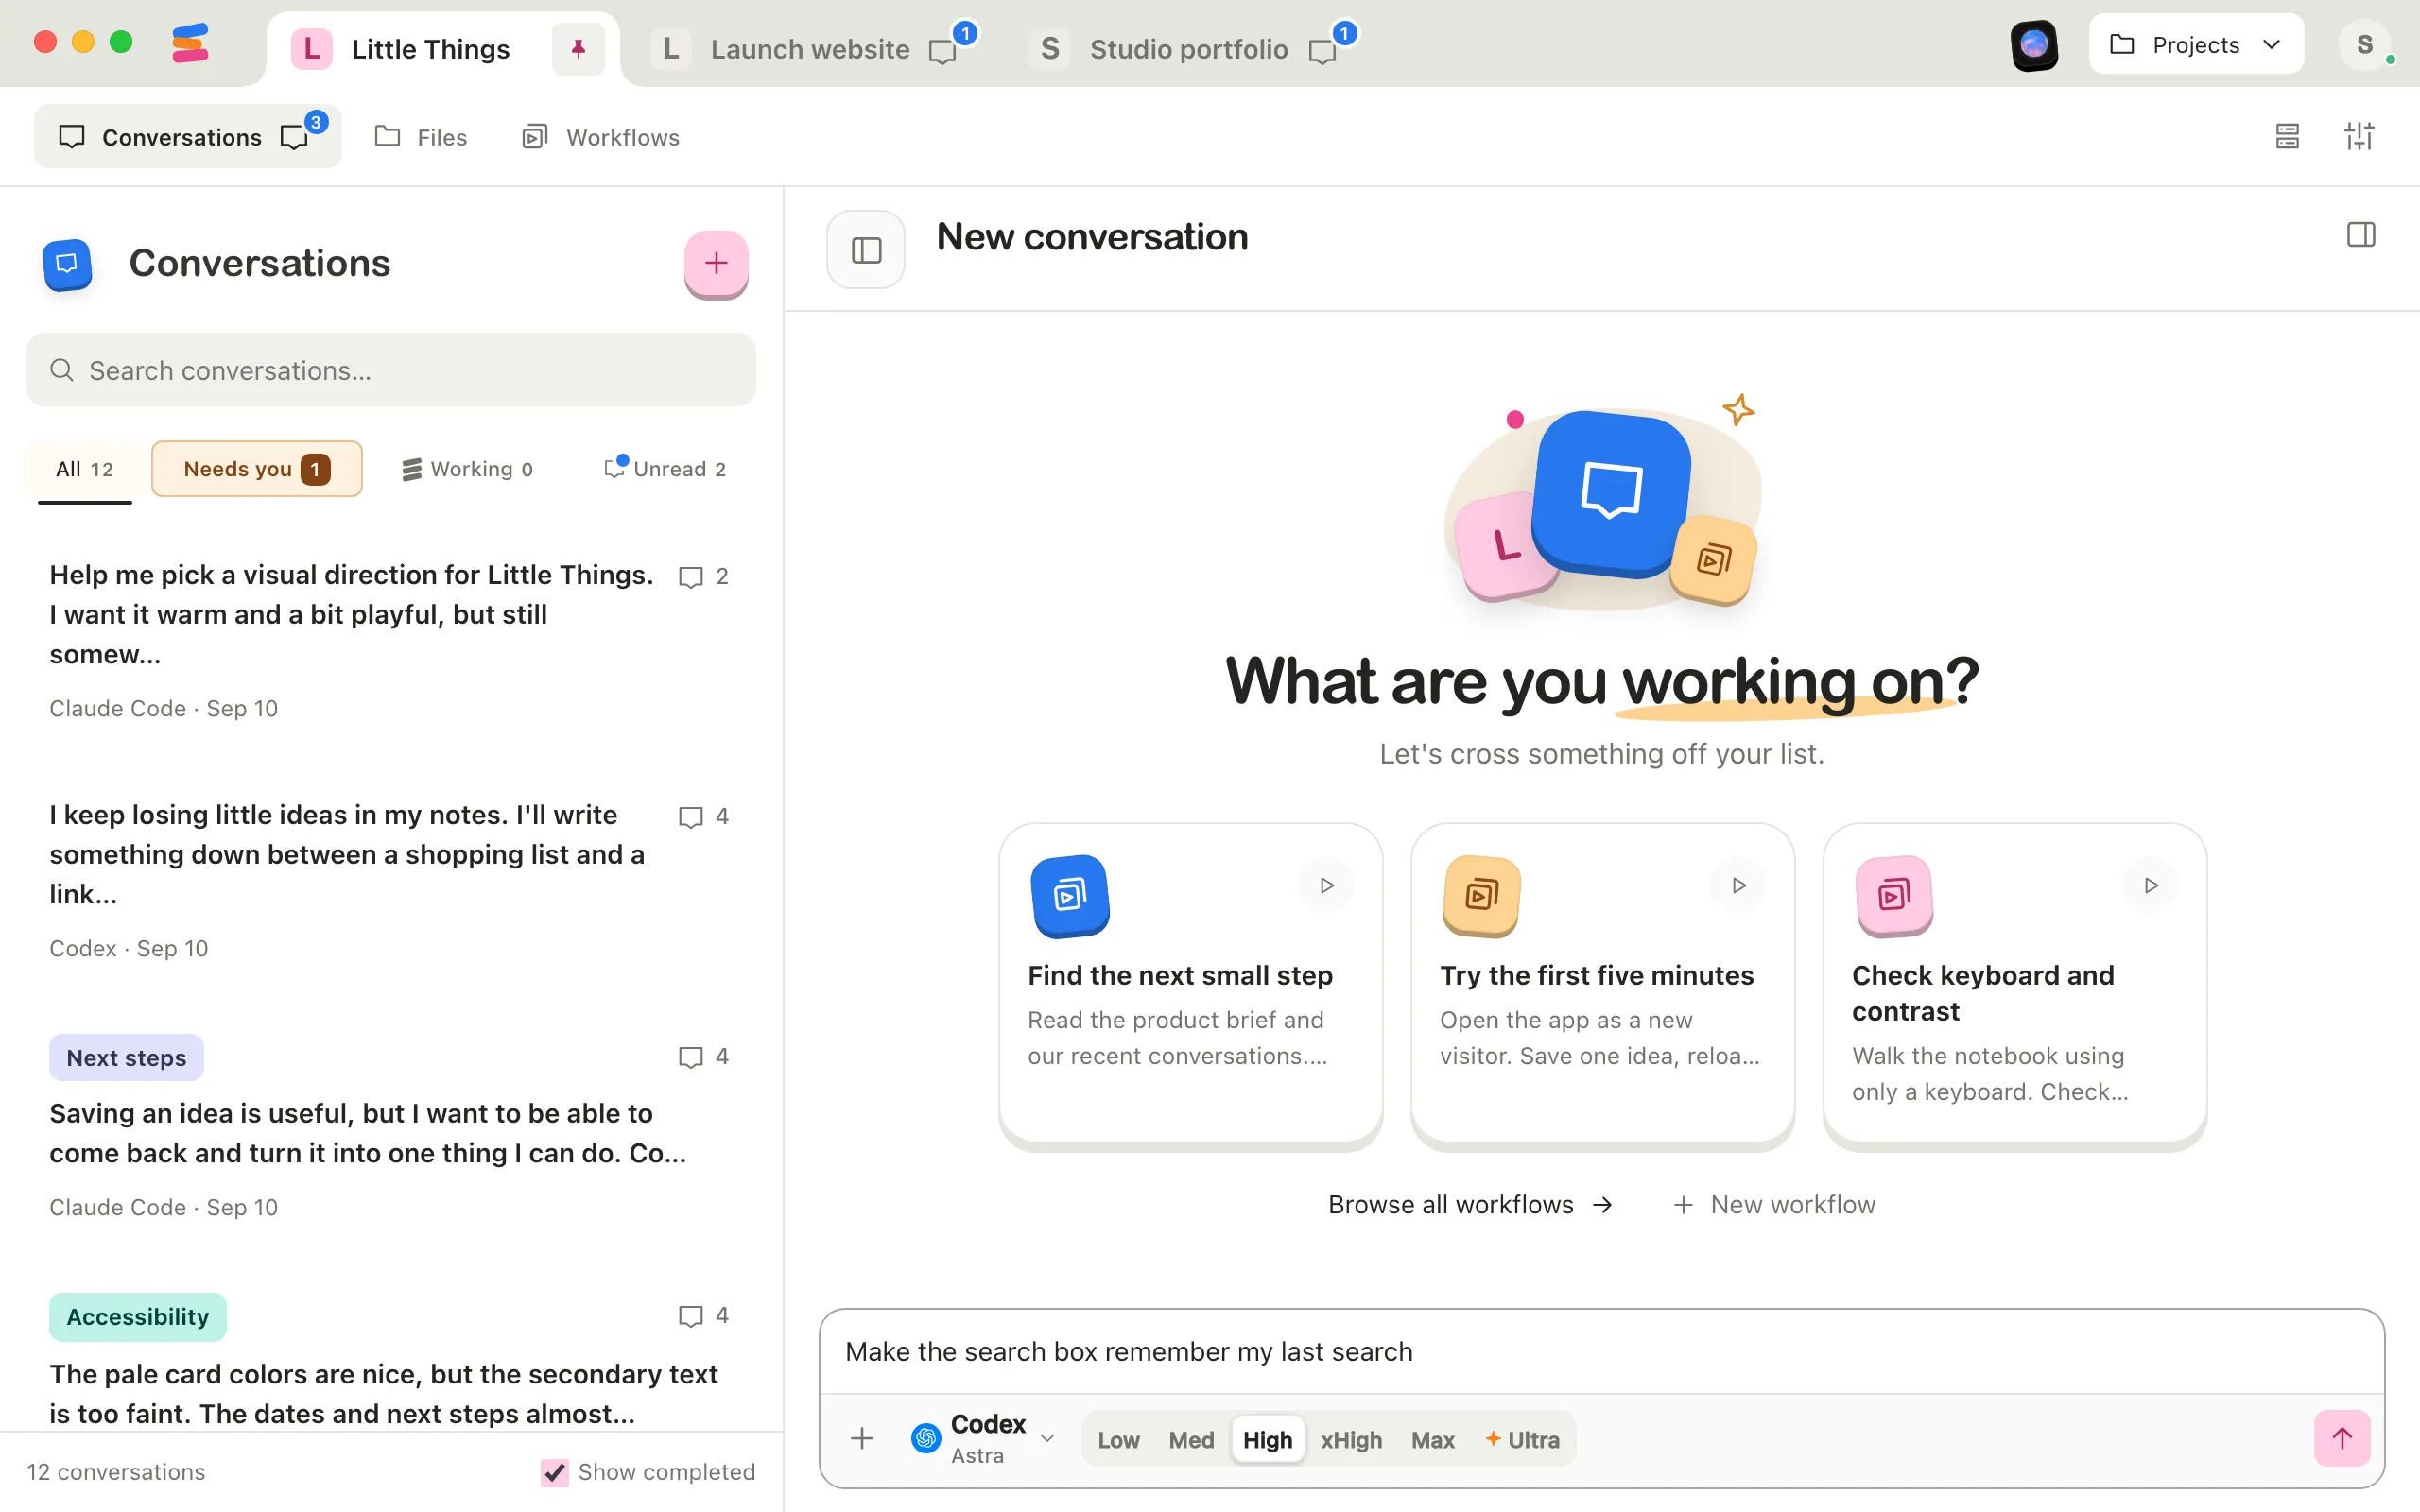
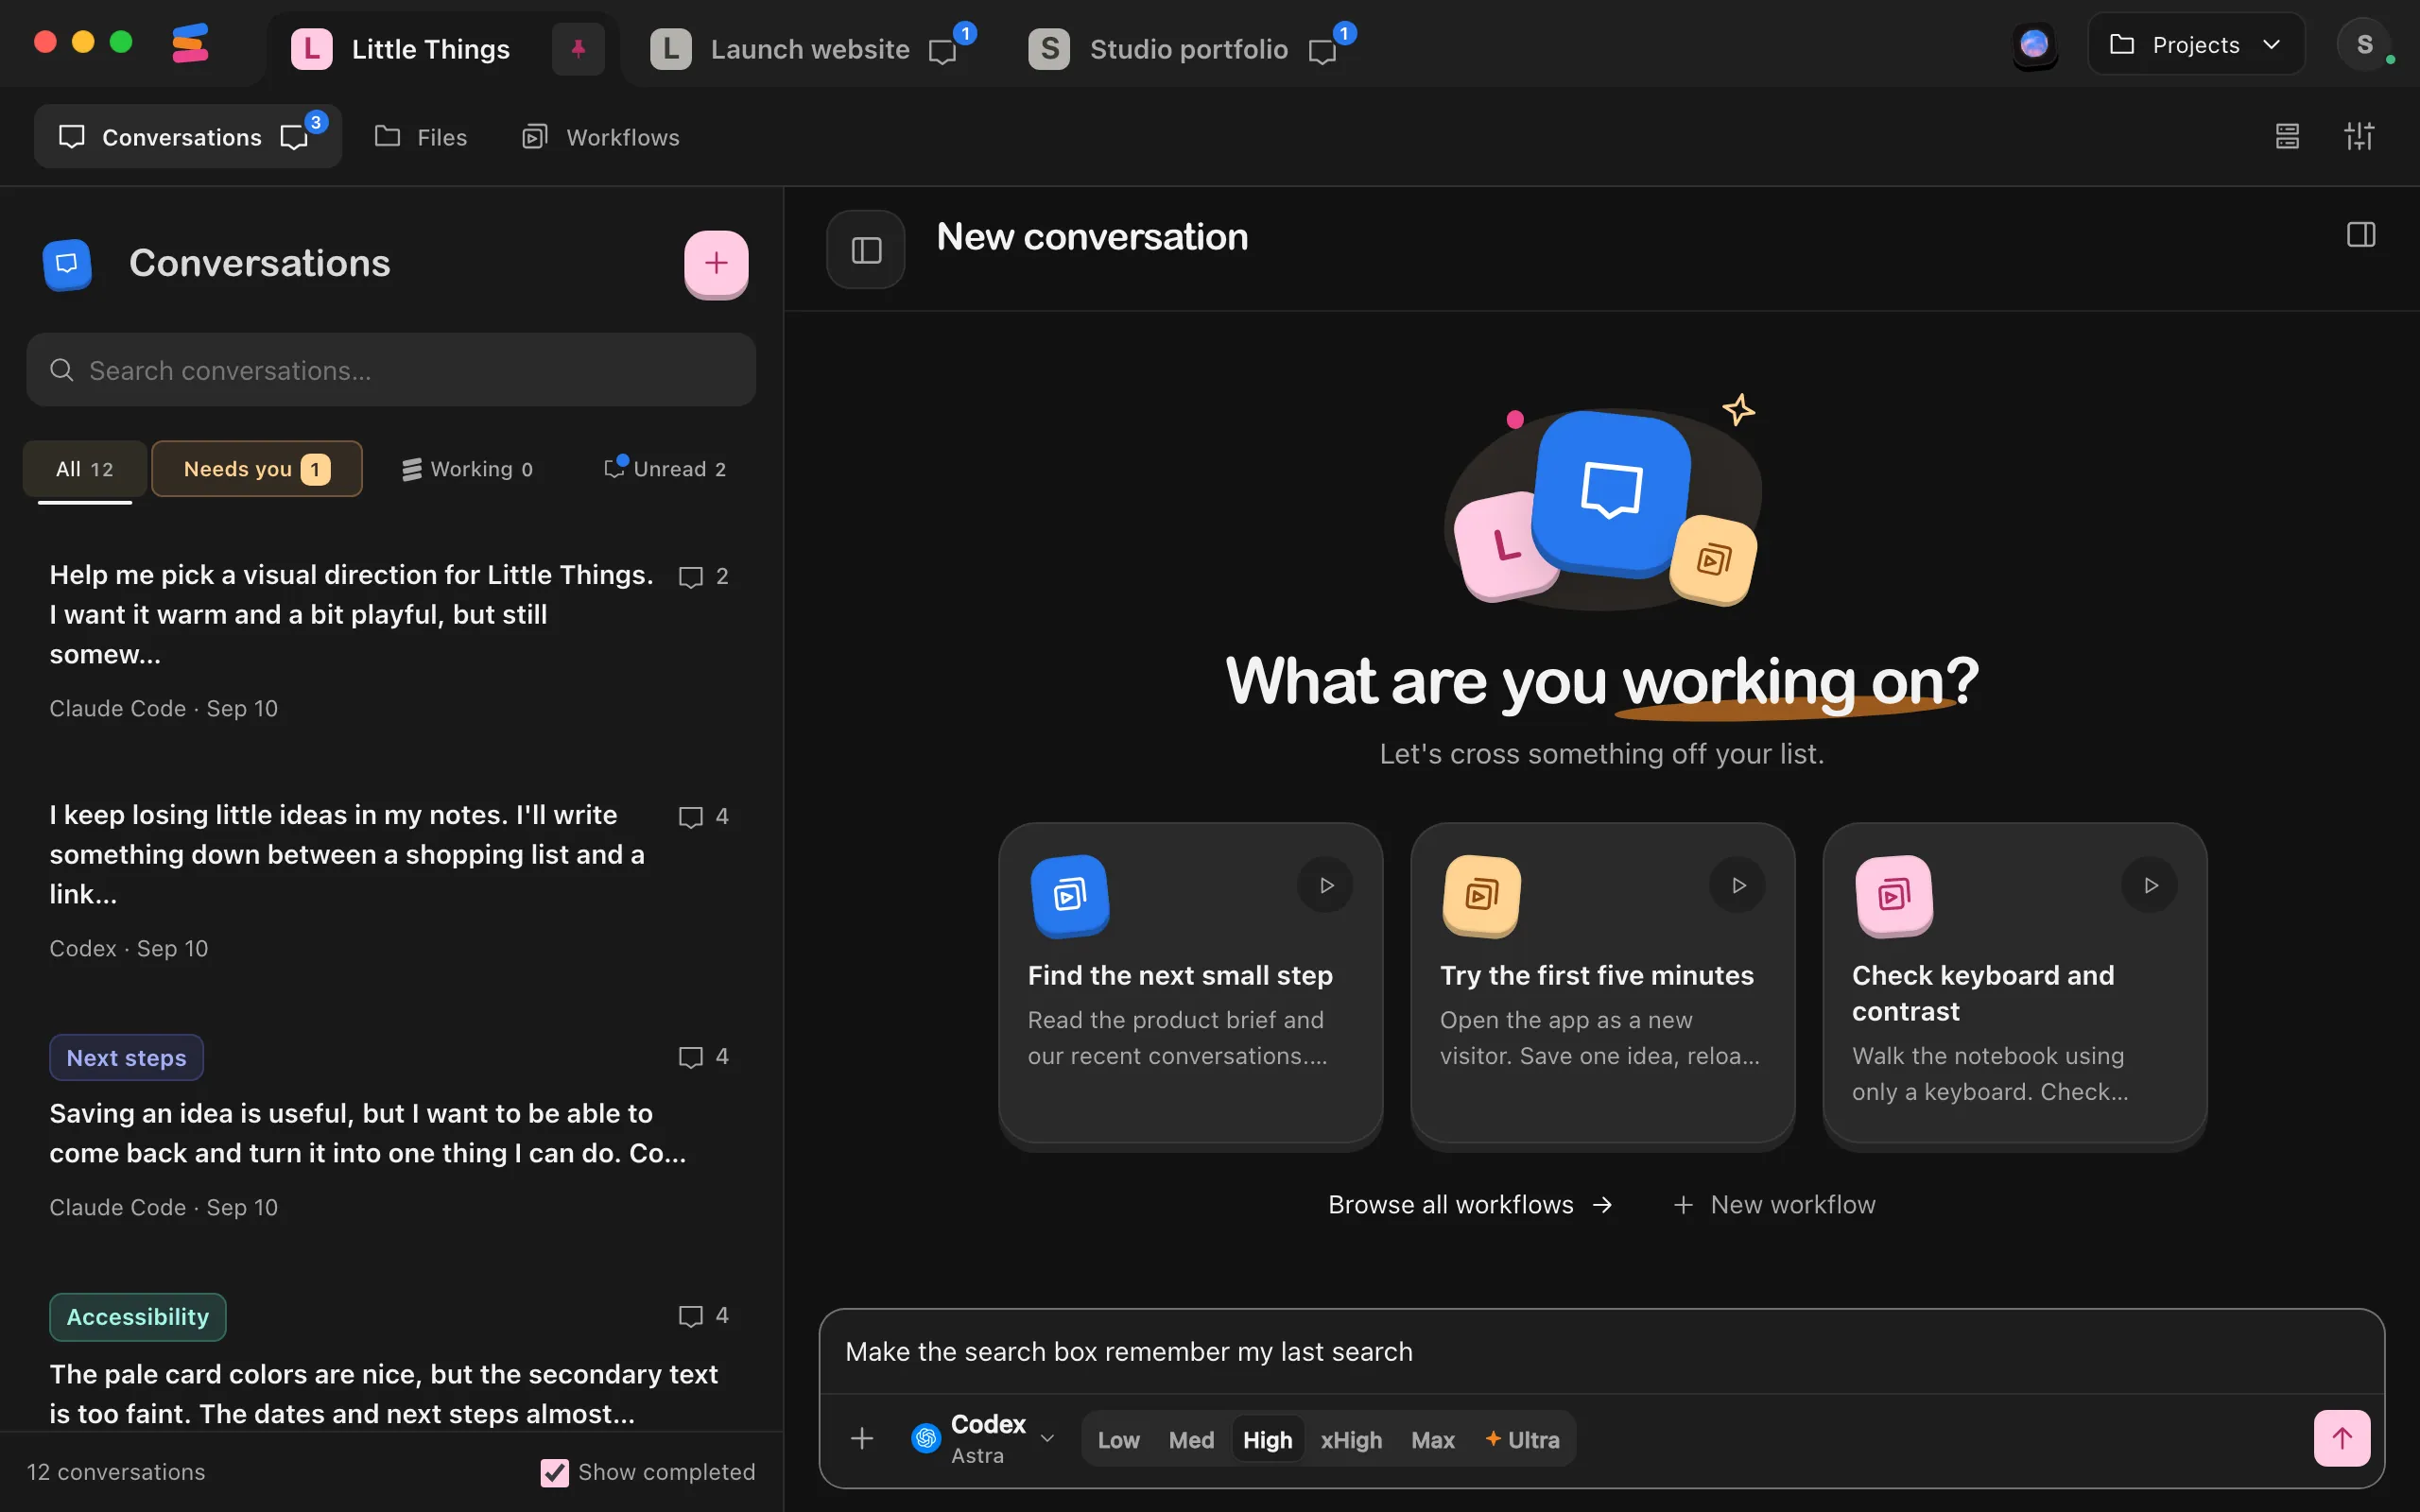
Send your message
The agent works at the level you selected.
You can also open the agent settings and choose in the Effort column. In the iPhone app, select the button that shows the model and effort, then choose under Effort.
Good to know
Ask for it in your message
You can also say the effort in your message, such as “go high on this one”, “quick one, low effort” or “think as hard as you can”. The agent sets that effort before it starts the work, and a line in the conversation shows the change, such as Effort raised from Medium to High. Your next messages use it too, as if you had selected it, and the agent button shows it.
- Claude Code changes its effort for the reply it’s writing. Other agents change it from your next message, and the line says so. OpenCode has no levels to change.
- In Claude Code, ask for helper agents the same way, such as “use 10 subagents on low”, at any level from Low to Max. A line in the conversation shows the effort they use. On your computer, Agent activity shows each one’s effort beside its model.
Levels for each agent
- Claude Code: Low, Medium, High, xHigh, Max, and Ultracode, shown as Ultra beside the agent button. Medium is the default.
- Codex: Low, Medium, High, Extra high, Max, and Ultra. Medium is the default.
- Grok Build: Low, Medium, High, and Extra high. High is the default.
- Antigravity: Model default, Low, Medium, and High. Model default is the default, and uses the selected model’s own setting.
- OpenCode: only Model default, so each model uses the effort set up for it in OpenCode. No levels appear beside the button.
- Muse Code: Minimal, Low, Medium, High, Extra high, and Ultra. High is the default.
The highest levels
- Max is the deepest reasoning level. Claude Code’s documentation warns that it “may show diminishing returns and is prone to overthinking,” so try lower levels first.
- Ultra in Codex is the level above Max. OpenAI describes Ultra as maximum reasoning that can also hand suitable parts of the work to helper agents, called subagents, and offers it only to eligible accounts and supported models.
- Ultracode in Claude Code turns on Claude’s ultracode setting, which has Claude plan larger tasks as workflows that run many helper agents. Enjoy runs it at xHigh effort. Anthropic notes that each request then takes longer and uses more of your plan.
- Ultra in Muse Code runs at the selected model’s highest reasoning level. Meta says it can also make Muse Code hand more of the work to helper agents.
More details
- Beside the agent button, some levels use short names: Med is Medium, xHigh is Extra high, and Default is Model default. Ultra levels have a sparkle.
- The levels beside the button need a wide message box. In a narrow window, use the Effort column in the agent settings instead.
- When a level has keyboard focus, the arrow keys select the previous or next level.
- Enjoy remembers the last effort you used with each agent.
- The agent button shows the effort after the model name. Point to a reply to see the effort it used.
For advice on when to raise or lower effort, see Match the effort level to the task.