Add images to a document
Before you start
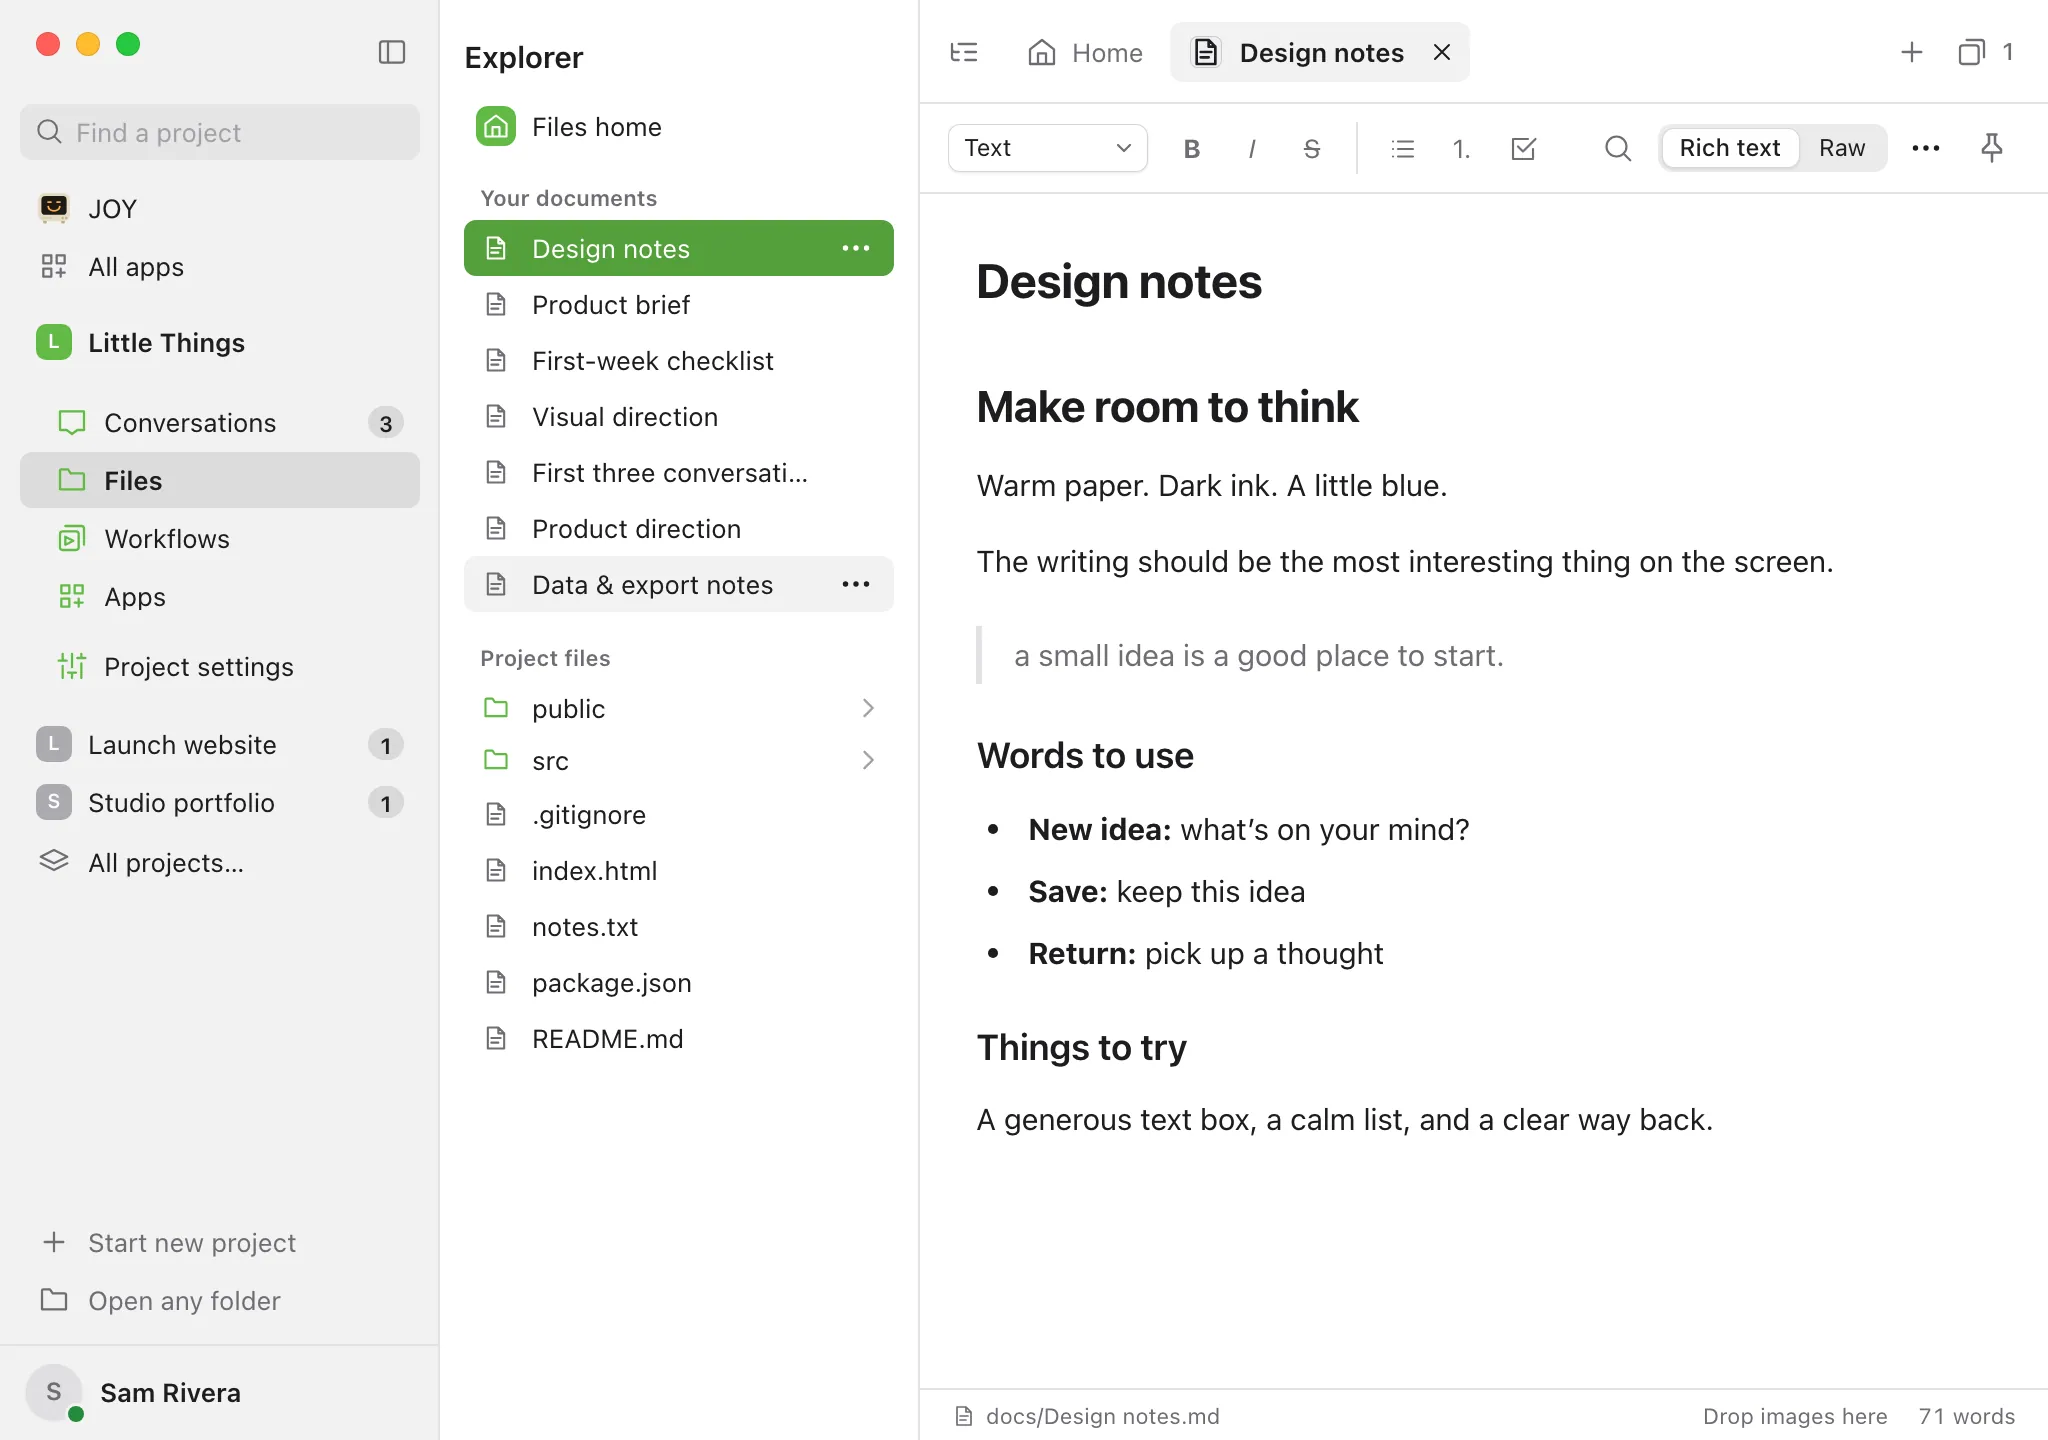
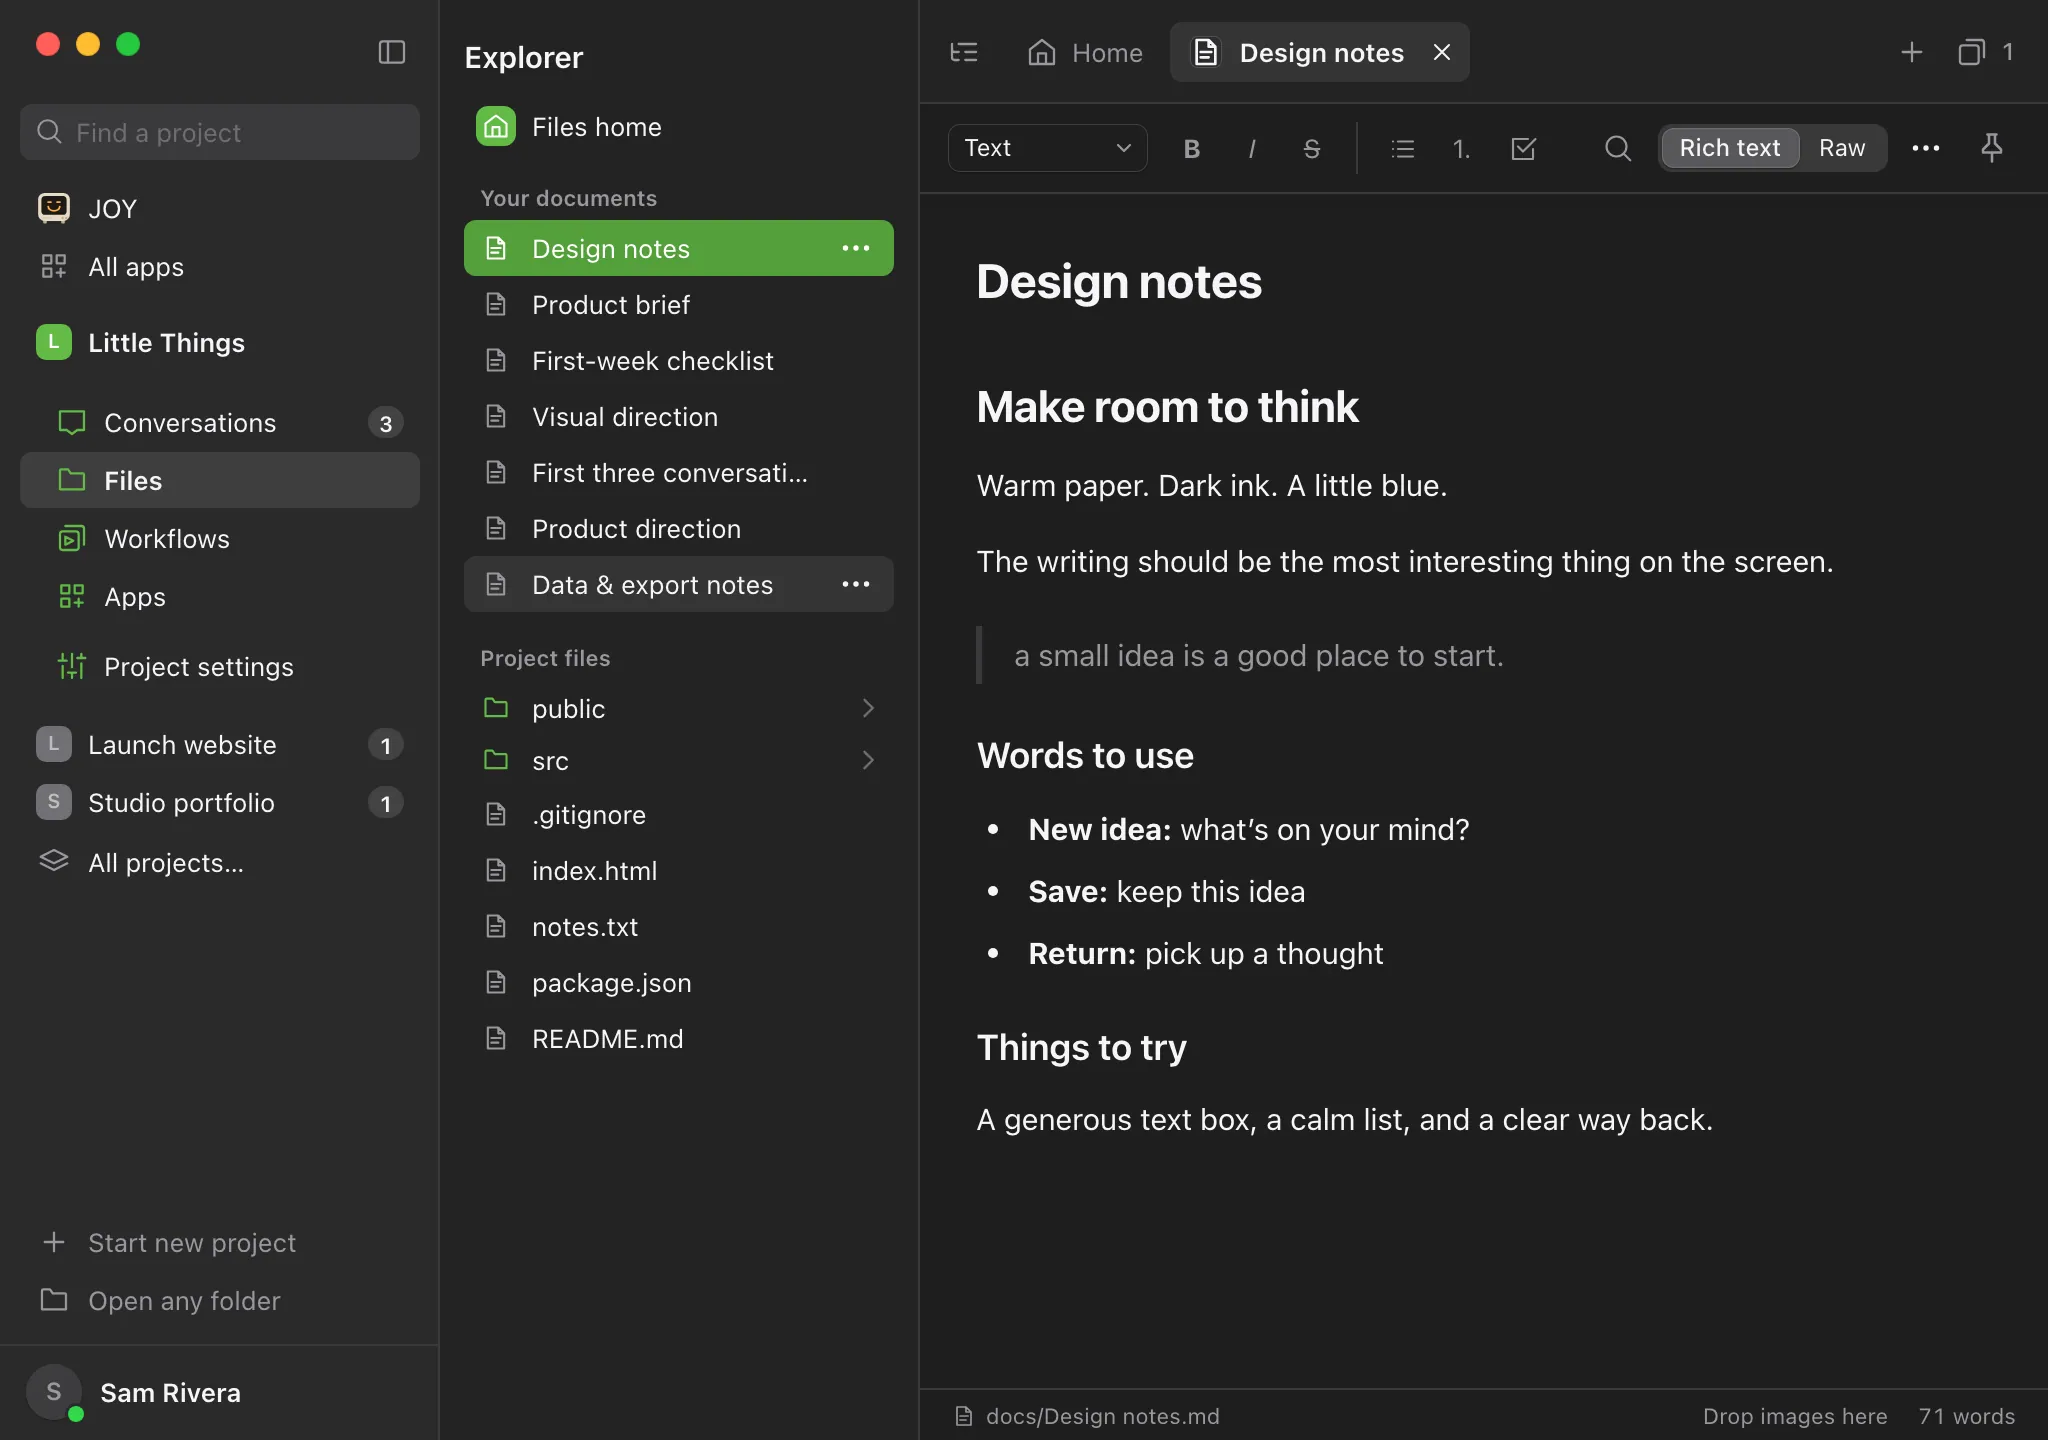
- Open the document in Rich text view. Images can’t be dropped into Raw view.
Steps
Open the document
Select it on Files home, in the explorer, or in its tab.
Drag images onto the page
Drag one or more images from Finder, File Explorer, or your desktop to where they should go in the document. While you drag, the bar at the bottom says Drop images here.
Or paste an image
Copy an image, put the cursor where it should go, and press ⌘V on a Mac or Ctrl+V on Windows and Linux.
Wait for the images to appear
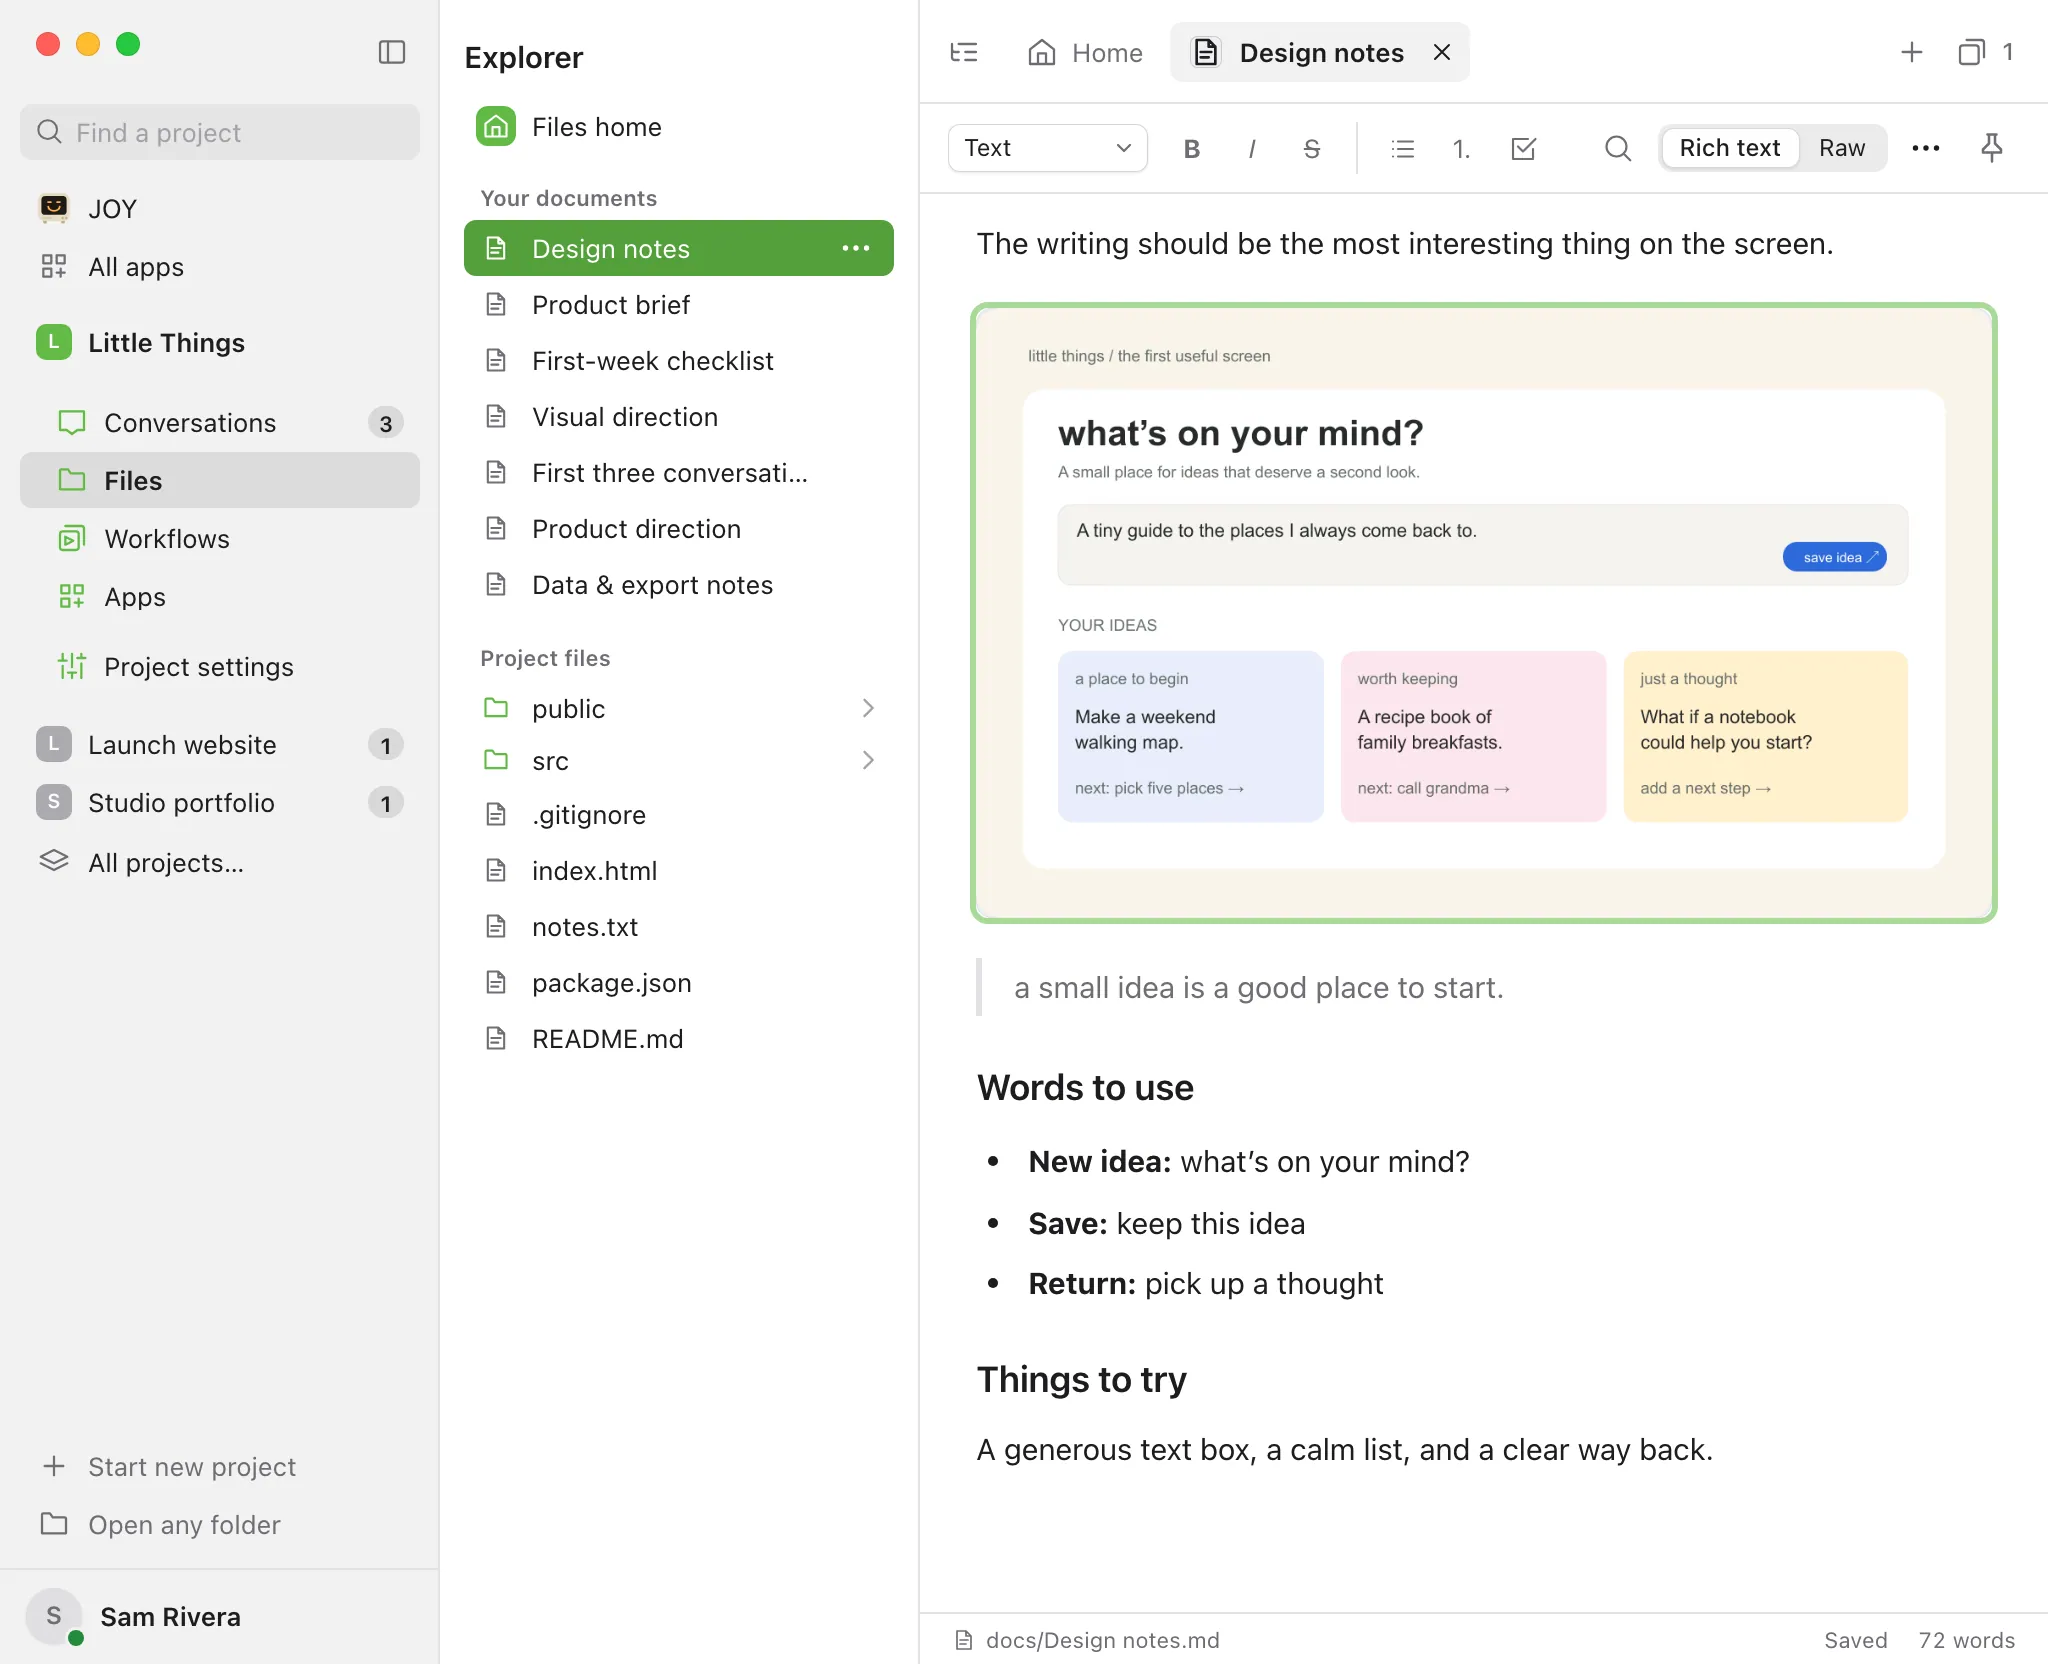
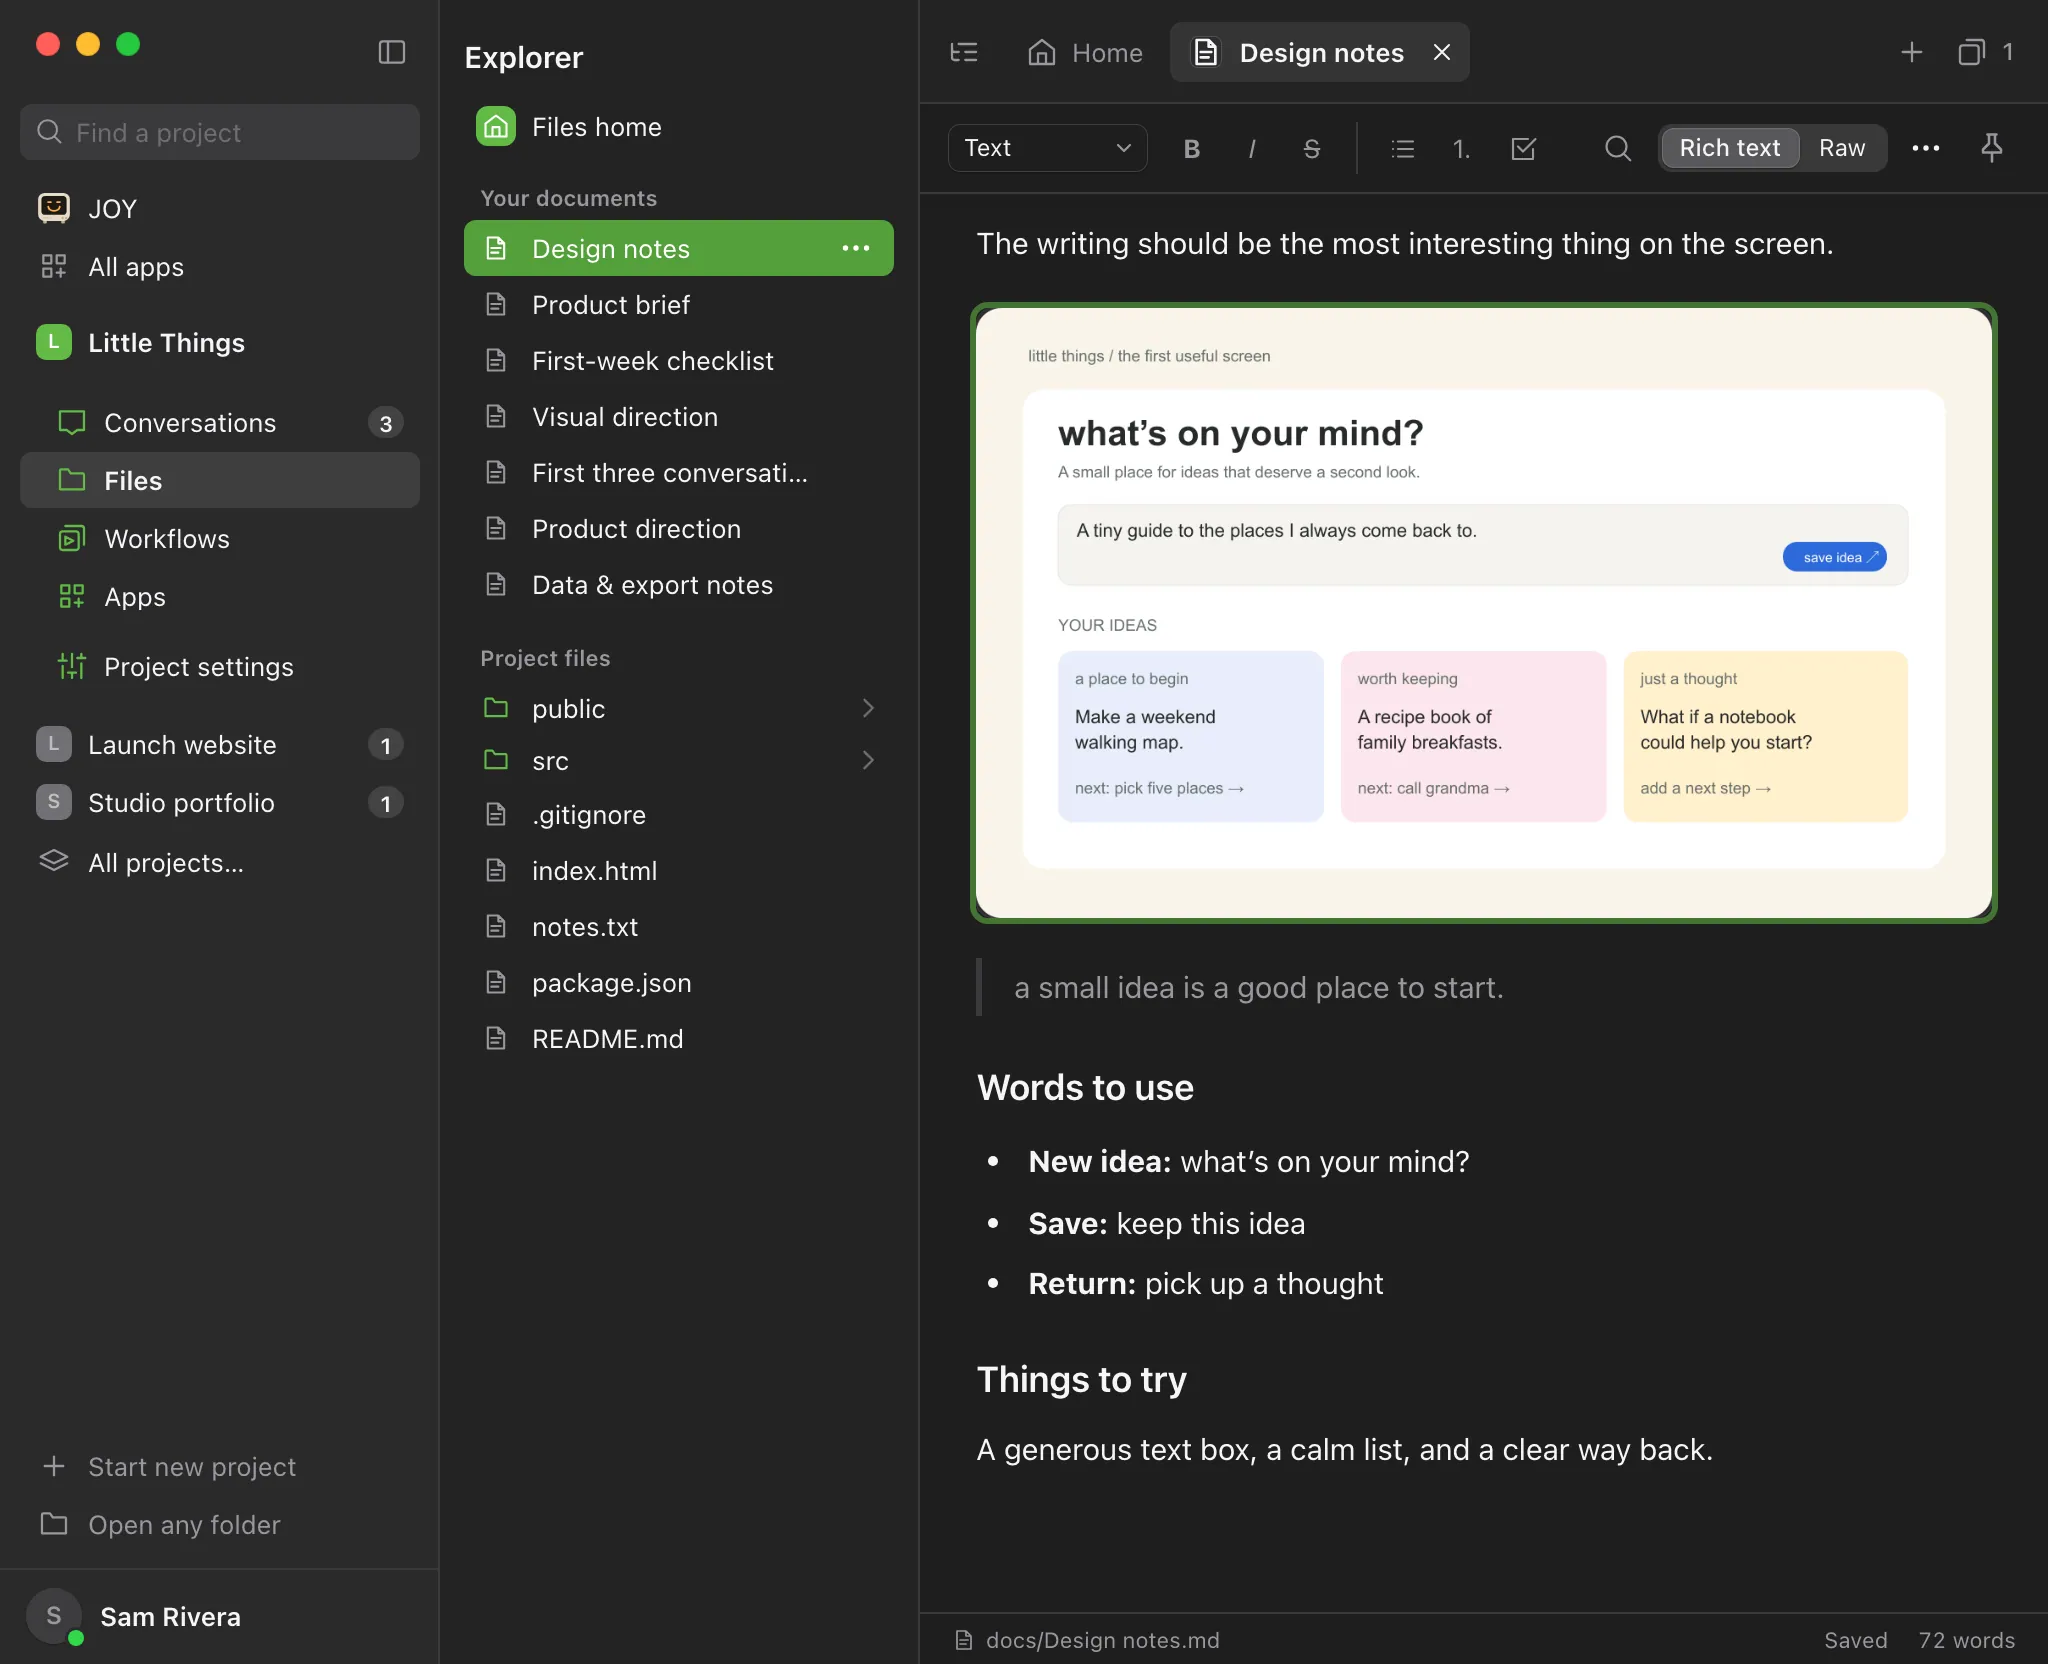
The bottom bar says Adding images… while Enjoy saves them. Each image appears where you dropped or pasted it.
Good to know
- You can add PNG, JPEG, WebP, and GIF images, up to 8 at a time.
- In the computer app, each image can be up to 20 MB. In the web app, and in the computer app when you use another computer’s project, each image can be up to 2 MB.
- Enjoy saves a copy of each image where it keeps the project’s documents. Your original file stays where it was. In Raw view, the image shows as a Markdown link to that copy, such as
. - Images that point somewhere else, such as a web address or a picture in your project folder, show as a placeholder with their address. Enjoy doesn’t load pictures from the internet into documents.
- Selecting an image in a document doesn’t open it in another app.
- Document previews on Files home can show images you added this way.
- You can only add images to documents. In a Markdown file from your project folder, images show as placeholders.
- In the computer app, dropping files on the explorer or the Files home list copies them into your project folder instead. See Copy files into your project.
If something goes wrong
“Choose a PNG, JPEG, WebP, or GIF image.”
The file isn’t one of the image types documents accept. Save it as PNG or JPEG and try again.
“Choose an image smaller than 20 MB.”
The image is too big. When you drag it in from your computer in the computer app, the message can instead start with the file’s location and end with “Choose a file smaller than 20 MB.” Make the image smaller in an image editor, or take a smaller screenshot.
“Images over 2 MB must be attached from your desktop to preserve the original.”
You’re using the web app, or another computer’s project, where each image can be up to 2 MB. Add the image from the computer app on the computer the project is on, or use a smaller image.
“Add up to 8 images at a time.”
Drop or paste fewer images at once.
“Switch to Rich text to drop images into this document.”
The document is in Raw view. Select Rich text at the top right and drop the images again.
“Could not insert this image. Try dropping it into a paragraph.”
Drop the image onto a line of ordinary text rather than a table, code block, or other special block.